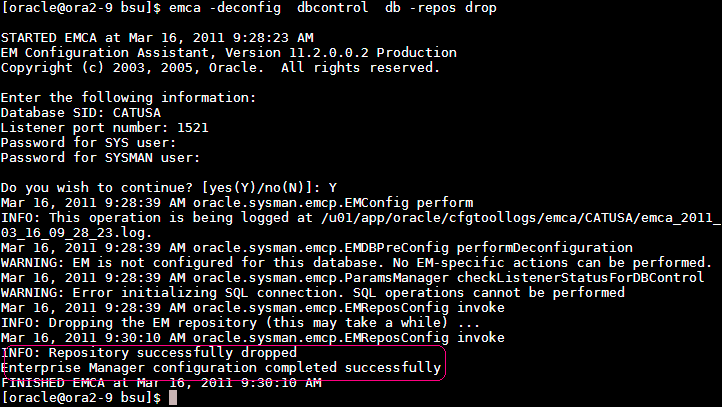
By using EMCA we can drop entire existing repository.
$emca –deconfig dbcontrol db –repos drop
STEP 8:
Oracle WebLogic Server Patch Requirements.
Ensure that you apply patch ID WDJ7 on Oracle WebLogic Server using the Oracle Smart Update utility. This patch fixes bugs 8990616, 9100465, and 9221722.
For information on applying this patch, see My Oracle Support note 1072763.1.
For information on Oracle Smart Update utility, see Oracle Smart Update Installing Patches and Maintenance Packs documentation available at: http://www.oracle.com/technology/products/weblogic/index.html
We can apply patch in two different methods.
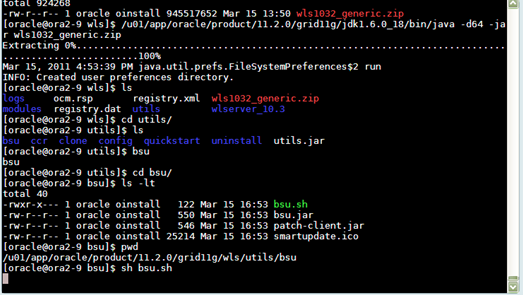
Procedure 1:- Apply Patches using Smart Update tool.
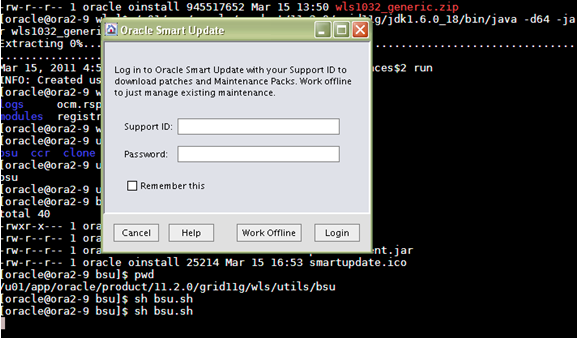
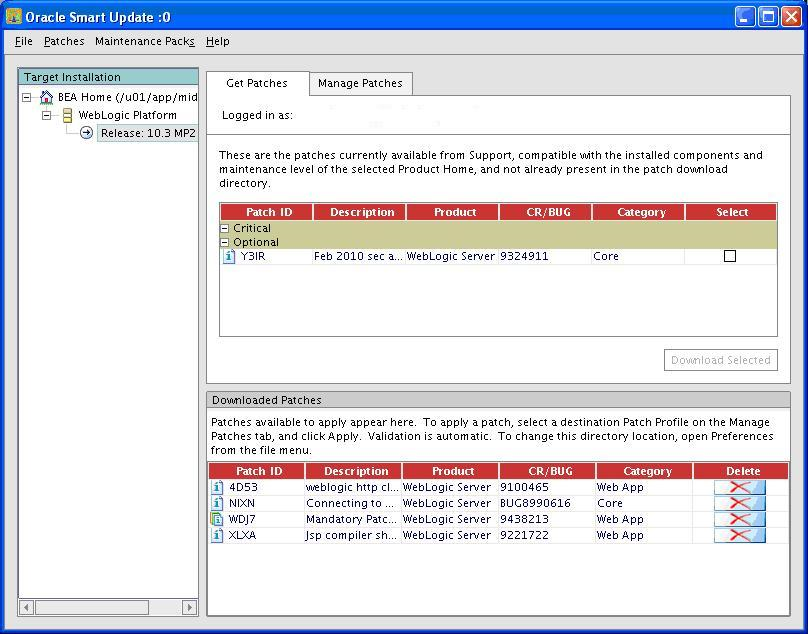
Set Support ID to a valid Metalink username, Set Password to a valid Metalink password & Click Login.
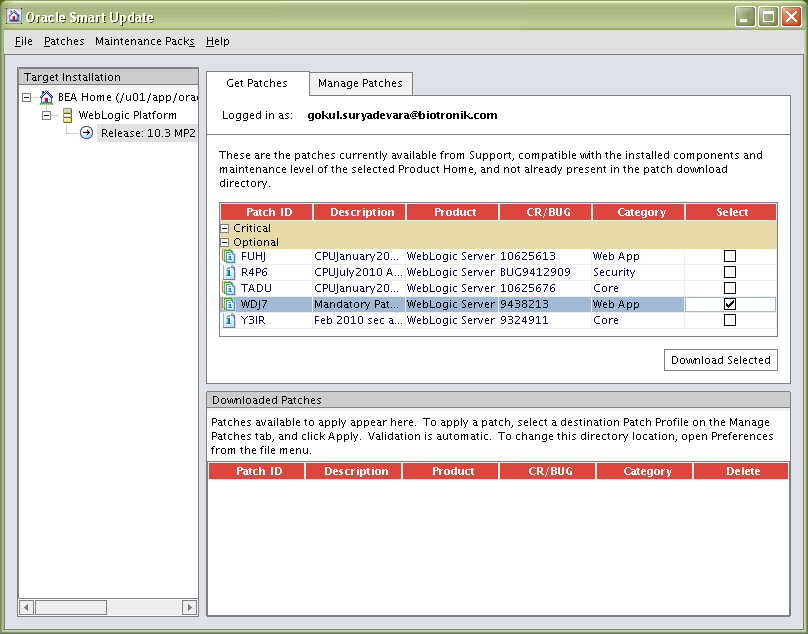
We need to select the required patches we need to apply “WDJ7” & click on “Download Selected”. Select the Get Patches tab.
Ensure WDj7 is ticked & Click Download Selected
Ensure Yes, check for conflicts now is selected & Click Ok
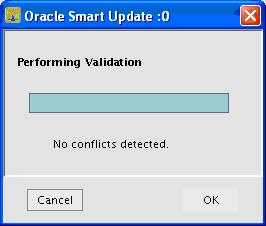
Click Ok.
This screen will move on automatically
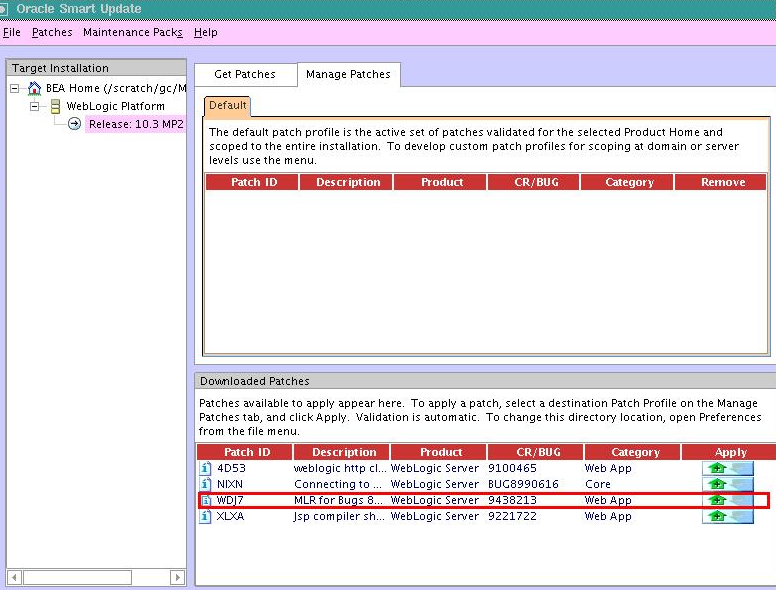
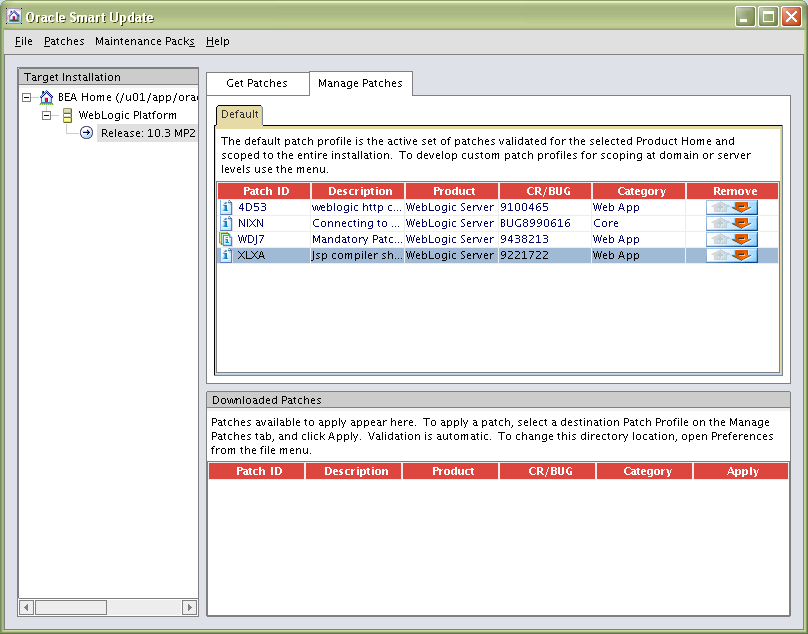
Select the Manage Patches tab.
Click on the Green Arrow Apply button.
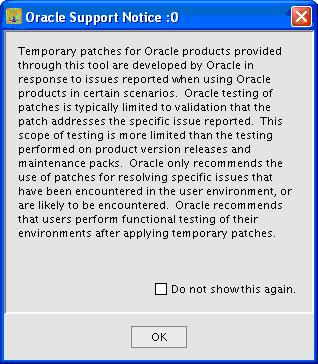
Click Ok.
Select File -> Exit
Method 2: Apply patch manually.
Download the WLS patch WDJ7 manually using the Smart Update. The patch jar gets downloaded in the default dir- WLS_ORACLE_HOME/utils/bsu/cache_dir
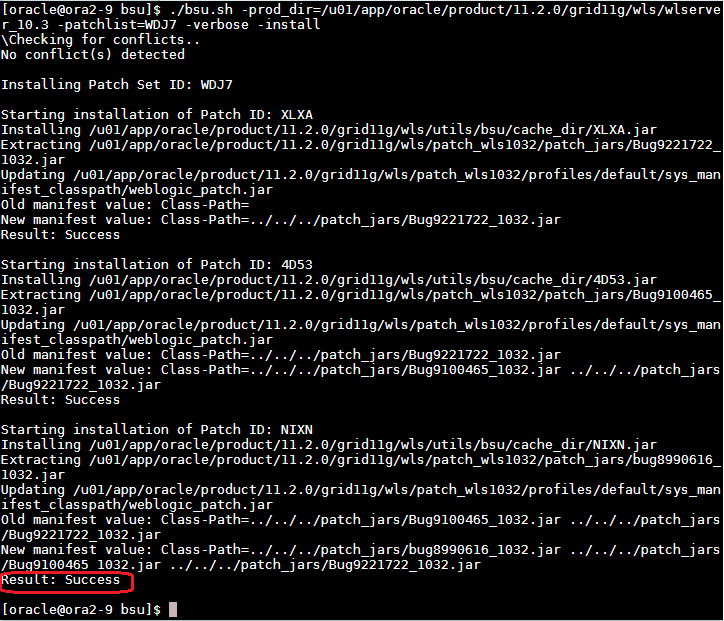
./bsu.sh -prod_dir=/scratch/gc/Oracle/Middleware/wlserver_10.3 -patchlist=WDJ7 -verbose -install
In below screen shot we can see all the three internal patches status seems as “Result: Success”.
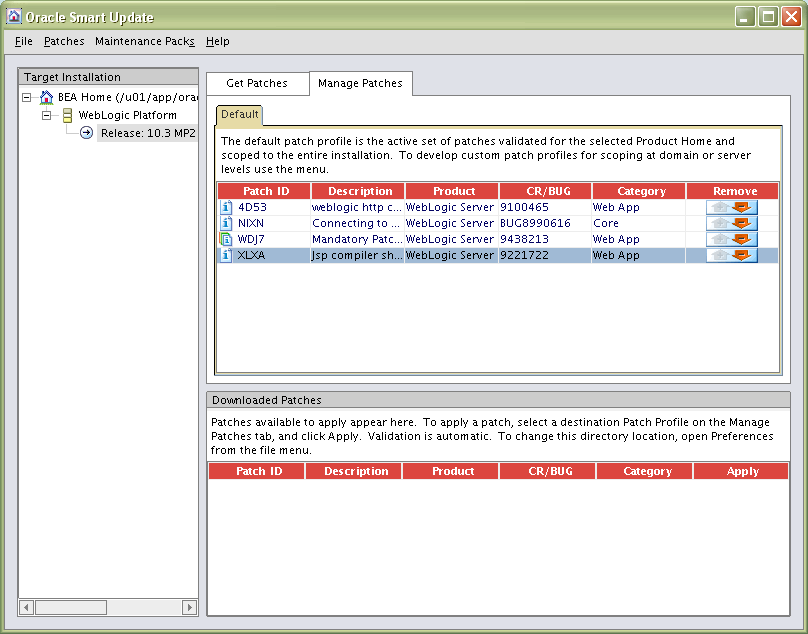
We can check manually by launching smart update.
STEP 9:
After creation of Database, it automatically DBCA creates the users “SYSMAN”,”DBSNMP” and also need to drop the EMCA repository also.
By using EMCA we can drop entire existing repository.
$emca –deconfig dbcontrol db –repos drop
STEP 10:
Check undo tablespace size it should be atleast 200mb, Better if we make Undo size as fixed.
STEP 11: Setting Database Initialization Parameters
1) log_buffer –>10485760 or greater
2) open_cursors –> 300 or greater
3) job_queue_processes –> 10 or greater
4) processes –> 500 or greater
5) session_cached_cursors –> 200 or greater.
STEP 11:
Now we can schedule 11g GRID control Installer as below
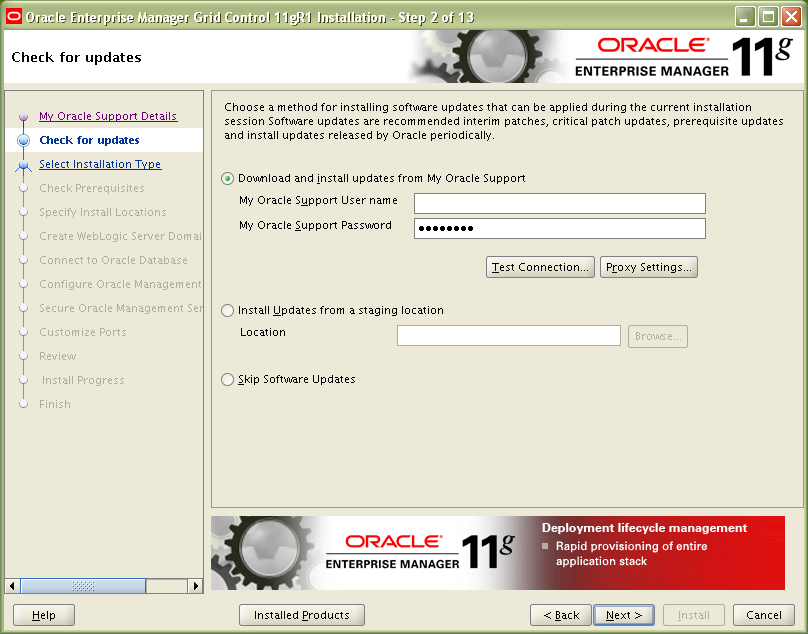
We can provide credentials to get any updates from Support.
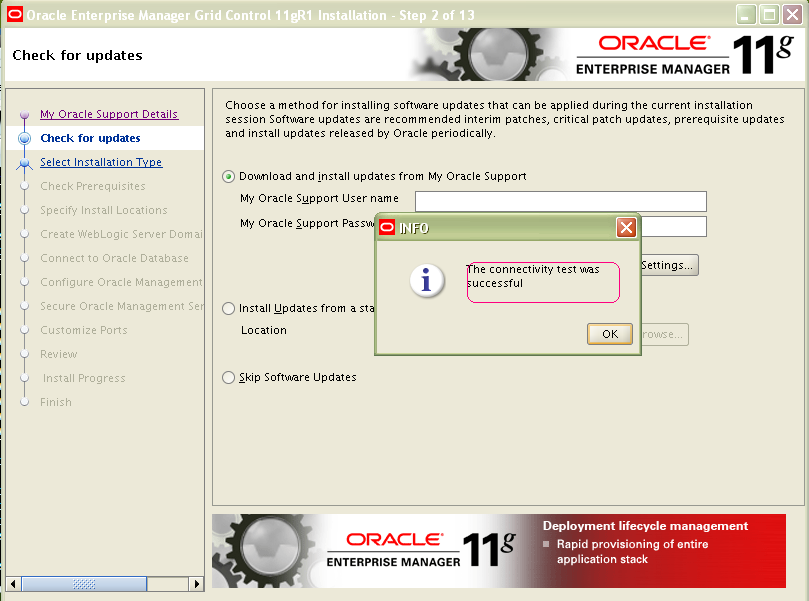
After providing we can test the connectivity as below and it was successful.
Automatically it will check for updates and starts the Installer.
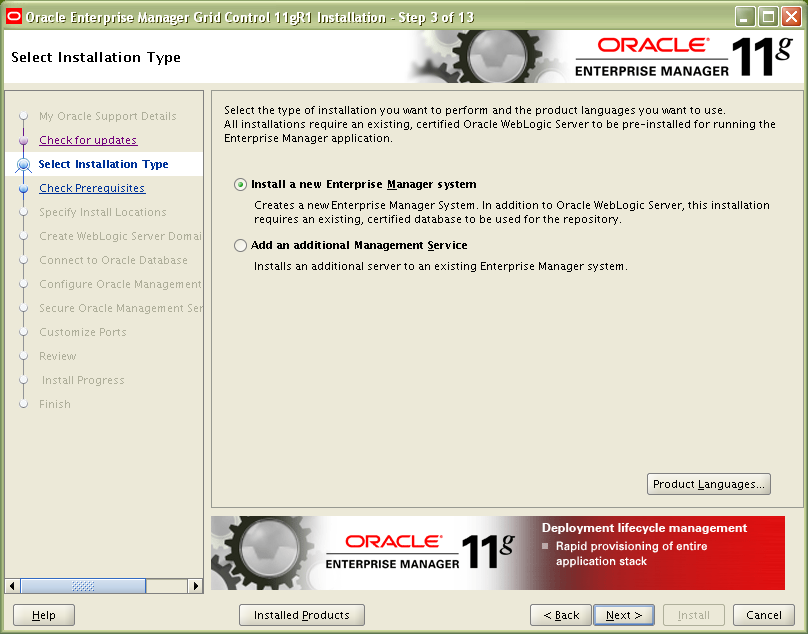
As we are installing new software need to choose option. “Install a new Enterprise Manager System”.
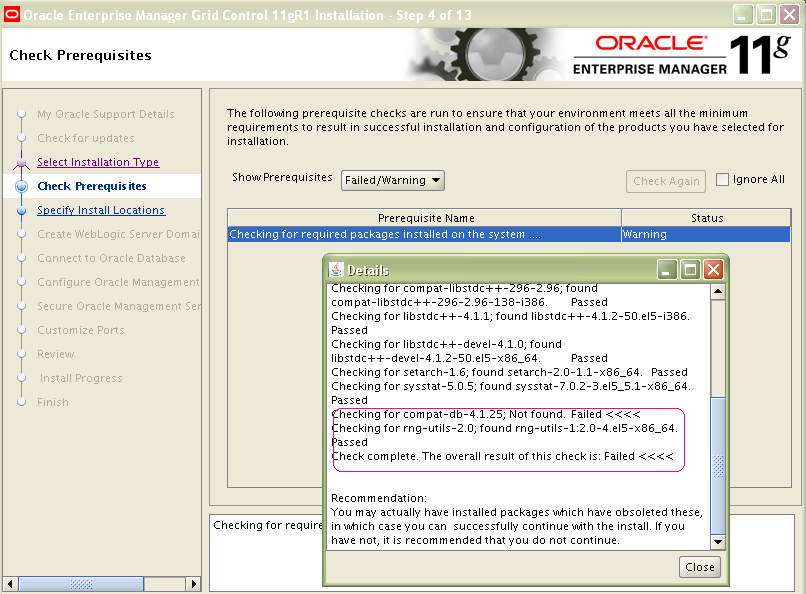
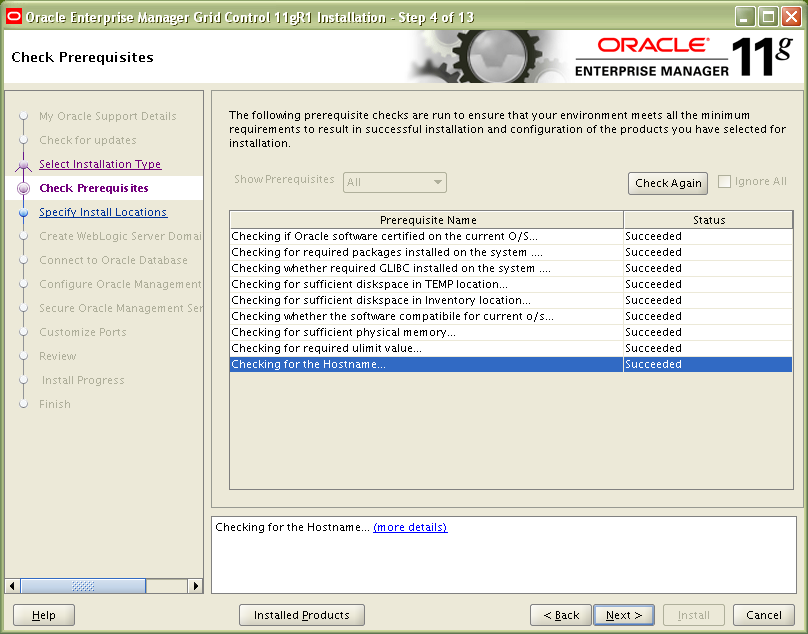
In prerequisites installer failed due to some packages are not available or some packages are greater kernel version, we need to take care of those.
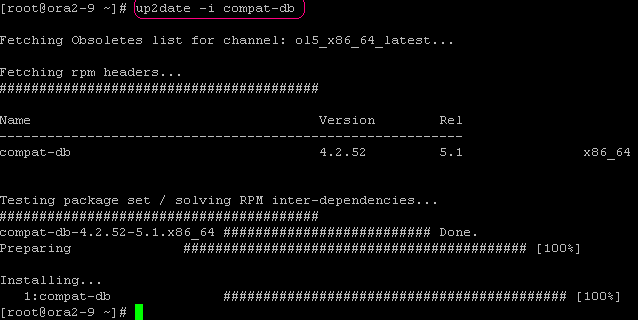
We have to update the existing RPM’s by the following command. Later it was installed and successful.
Once again we need to click on “Check Again”. Now the status is “Succeeded”.
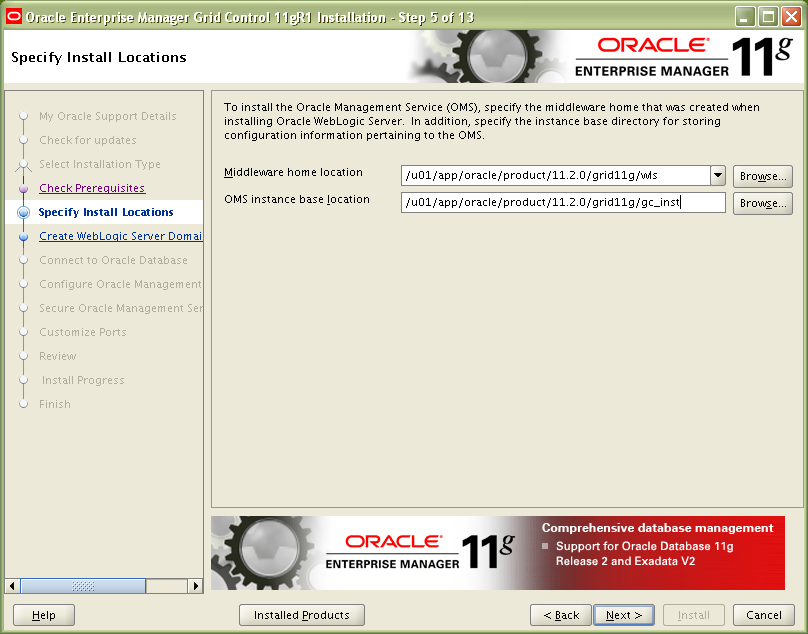
Later need to provide GRID home location where we need to install.
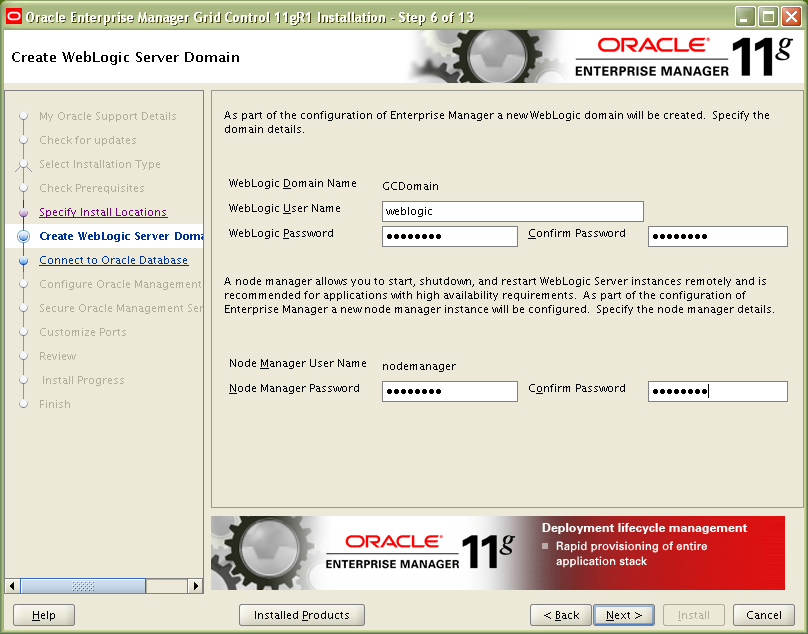
The next step is to provide credentials for users “weblogic” and for node manager.
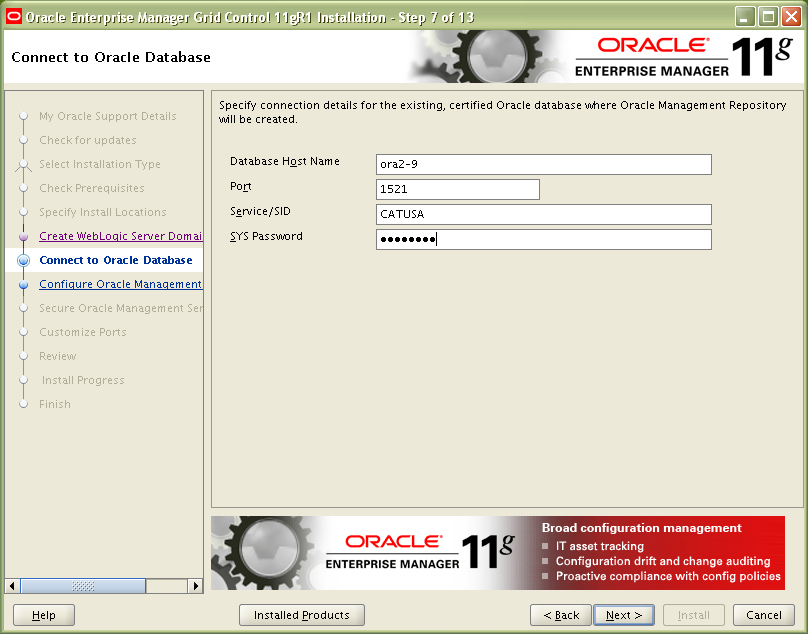
To maintain all the GRID repository we already created a database “CATUSA”, so we are using this database. Here have to provide details of Database hostname, Port, SID & Sys password.
Continue Reading… Grid Implementation Part III

