11g Management Agent Deployment via Grid Control using the ‘Push’ Method
The 11g management agent cannot be directly installed using the Oracle Universal Installer GUI as in the 10g version of the product. We can use any of the following methods to deploy the agent on target nodes.
1) Agent Pull method
2) Agent Push method
3) Agent clone.
This note shows us how to deploy the agent from the EM Grid Control interface.
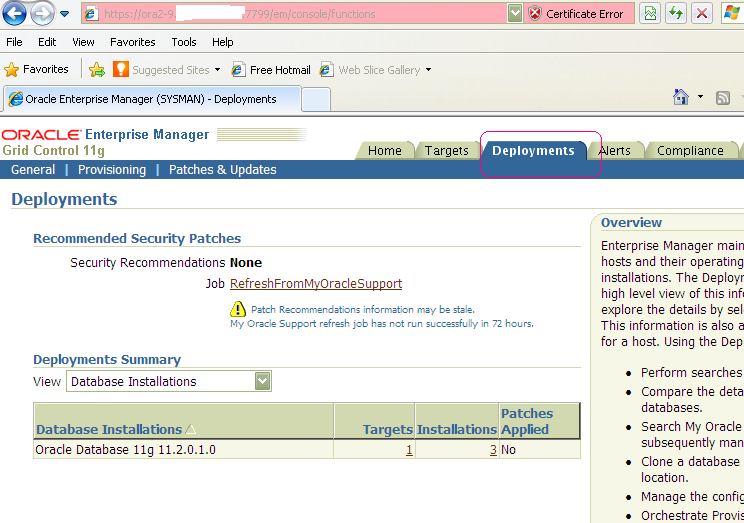
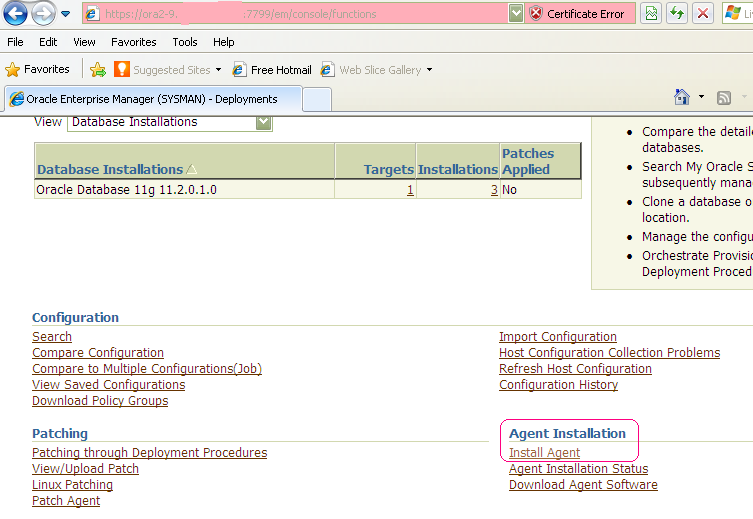
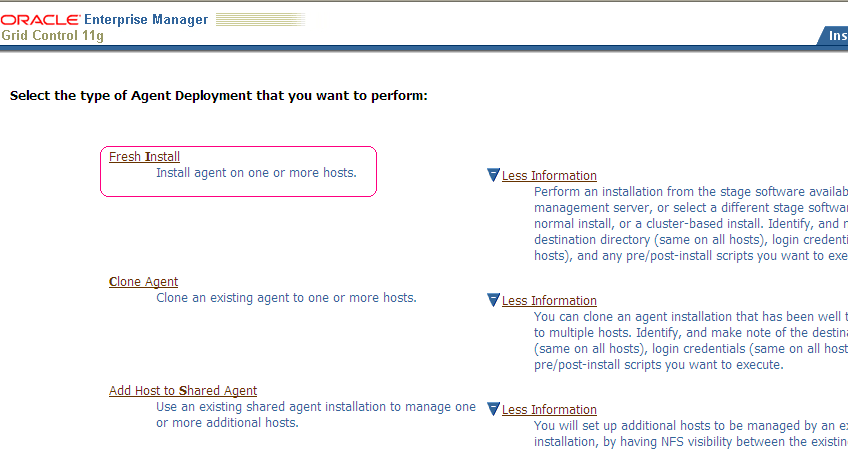
From the Deployment tab in the EM Grid Console, click on Install Agent (under Agent Installation) and then Fresh Install.
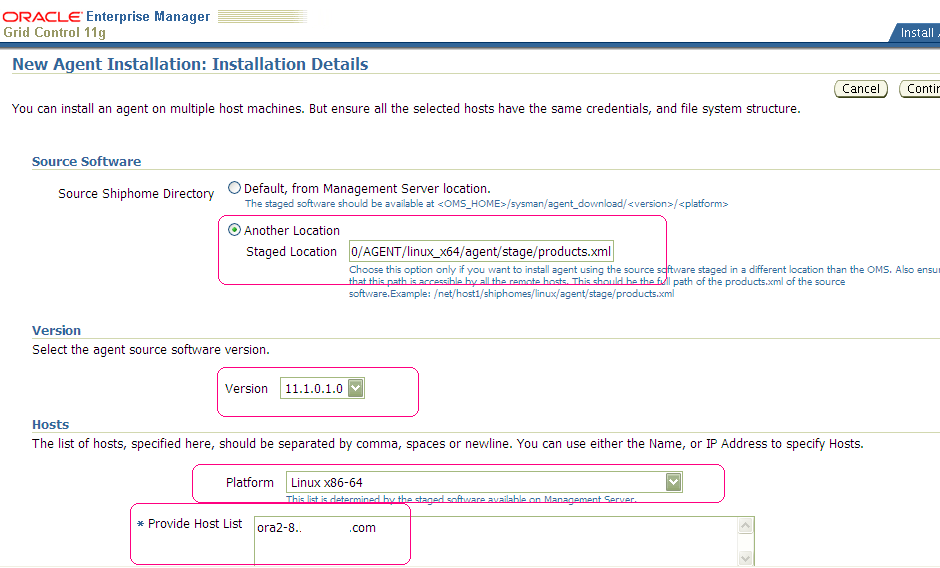
Enter the following details :
— The host where we want to deploy the agent
— The OS user account and password on the target machine
— The top level path of the directory under which the ‘agent11g’ sub-directory will be created.
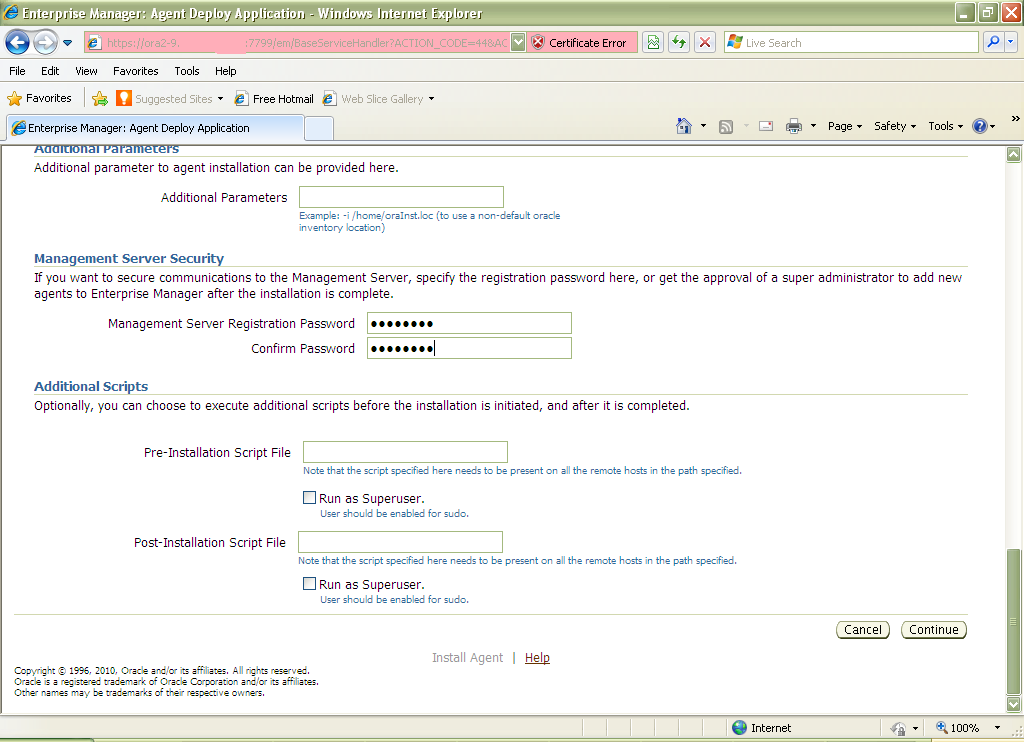
— Management Server registration password
Since the user account we are using does not have the privilege to do a sudo, uncheck the run root.sh box. Remember we will need to run the root.sh from the agent home on the target after the installation.
Since our OMS is secured, enter the Management Server registration password for the agent to connect to repository in the secure mode. This password will be the one we supplied at the time of the 11g EM Grid Control installation.
Agents we will install on each server. So we need to unzip the software in one staging directory. Later we can start The below method to install agent by PUSH method.
Click on “Deployments” Button.
In deployments page, Under “Agent Installation” tab can find “Install Agent” Button.
Later, We have several methods along with Fresh install as “clone agent”, “add host to shared agent”.
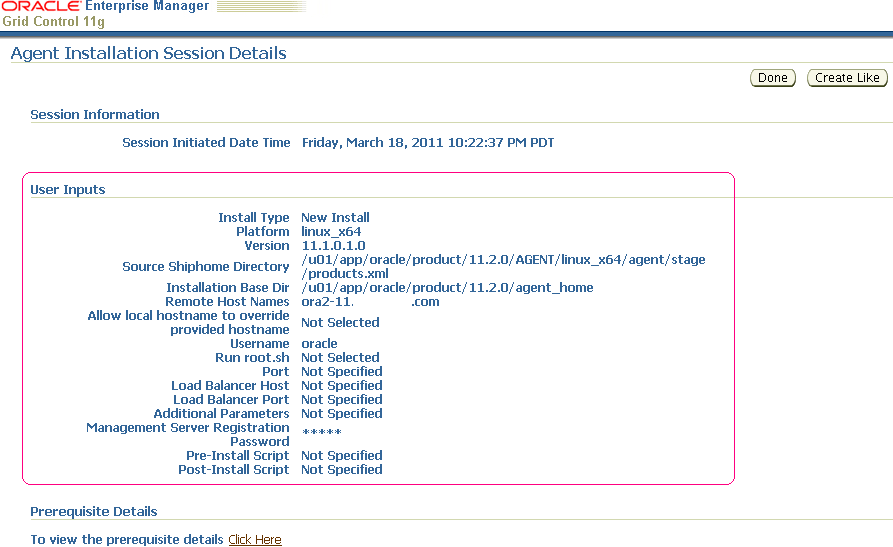
We already have unzipped agent software, need to provide products.xml location in staging location column in below screen shot and also provide needed credentials of “oracle” and configuration Manager passwords.
After clicking continue, can provide Metalink credentials for further security updates, Later Three steps will be in progress
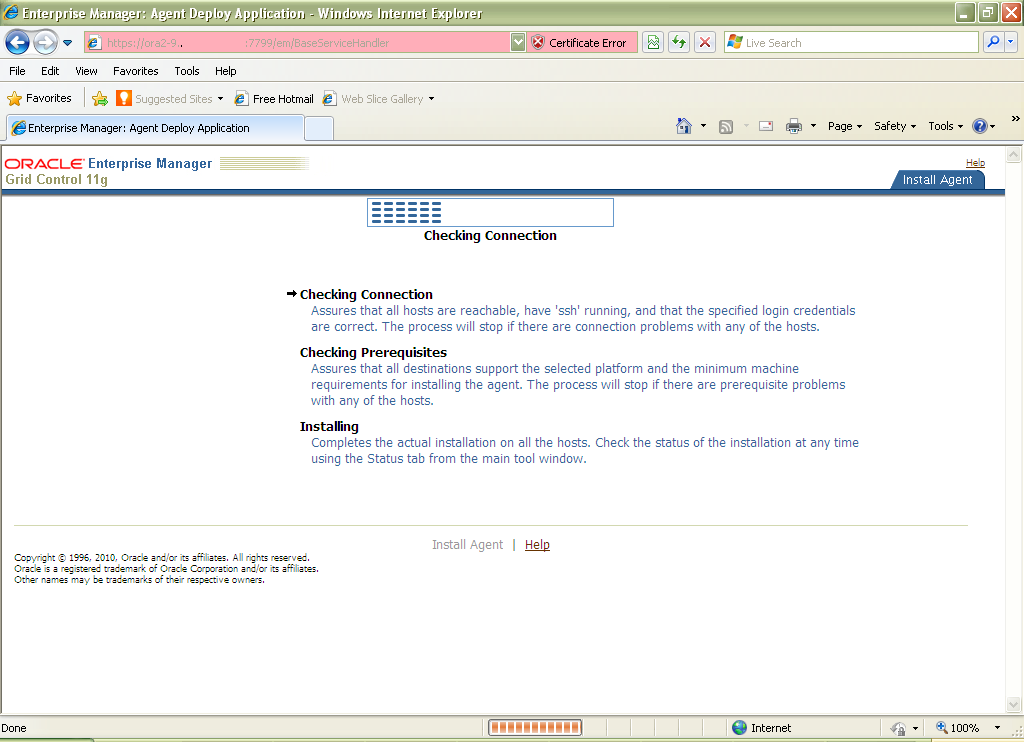
 1)    Checking connection
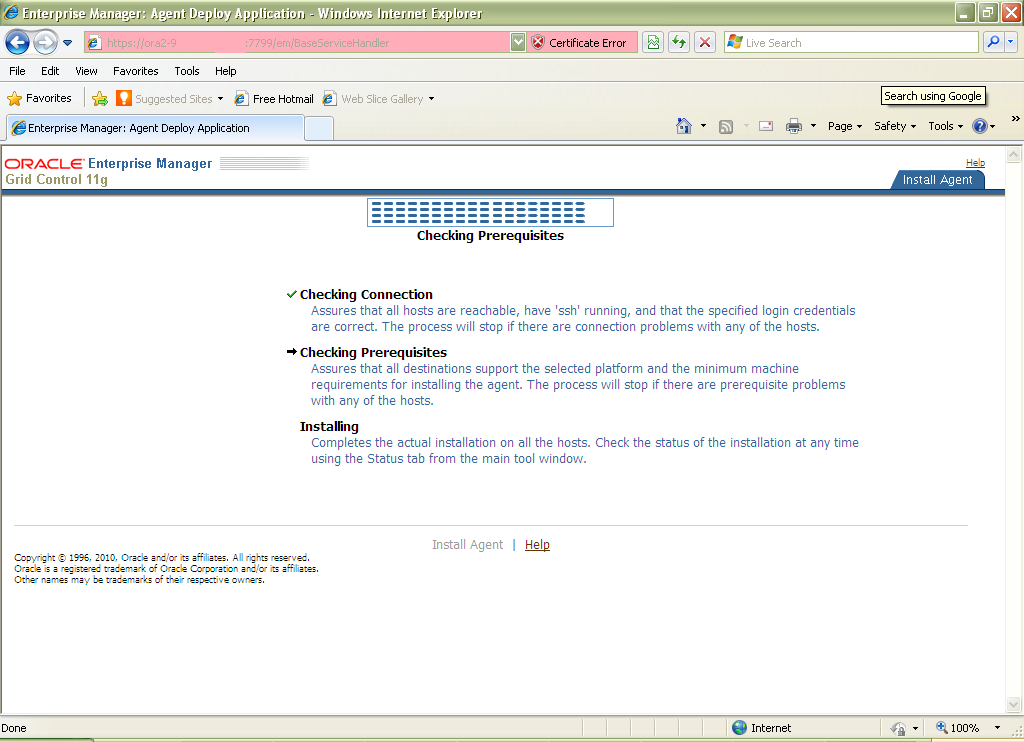
 2)    Checking Prerequisites
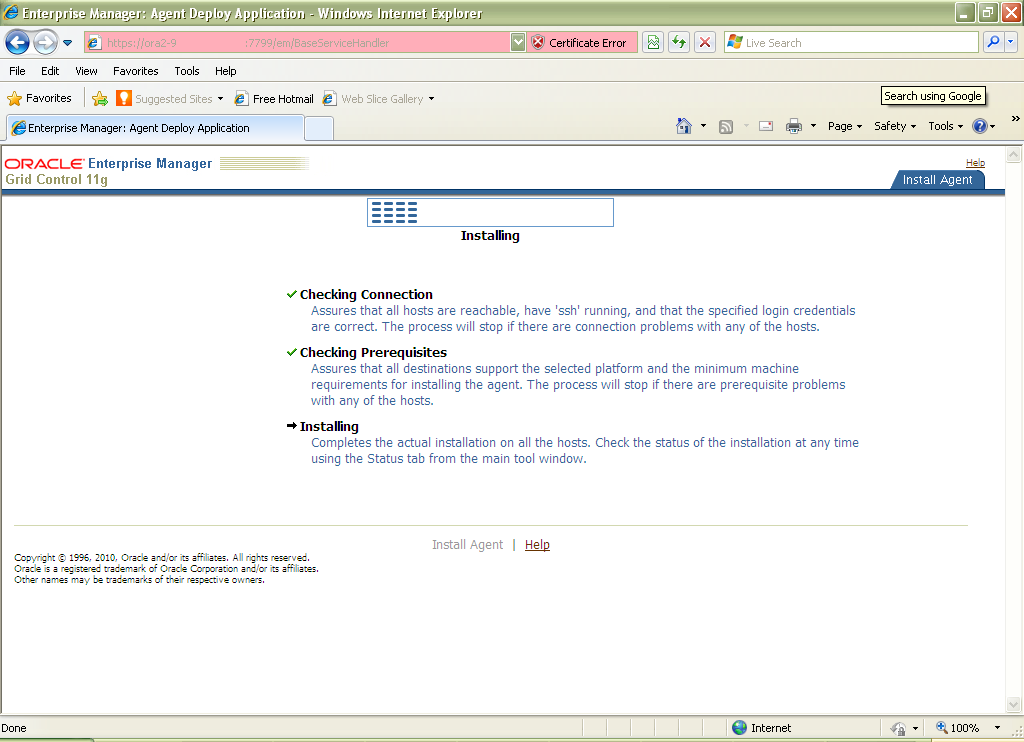
 3)    Installing
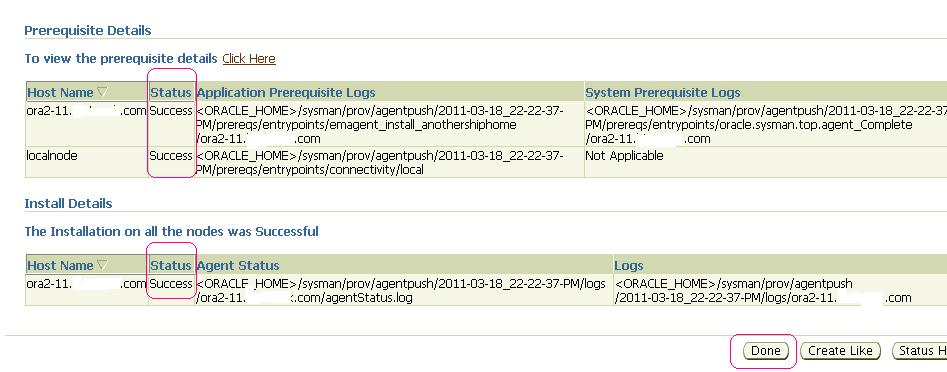
Checking Connection was successful.
Checking Prerequisites is successful.
After installation directly it will moves to the new screen, It shows the configuration information then click “done”. Below we can track the status of each step.
Below screenshot results new target information.
Hope demonstration of 11g Agent deployment is clear, Below is reference links. 🙂
11g Grid Control: How to Process Control (start, stop, check status) the 11g Oracle Management Service(OMS)? [ID 1104050.1]
How to Automatically Start / Stop the Grid Control Components upon Unix Host Reboot / Shutdown [ID 735441.1]

Hi Brother,
Thanks a lot.Your website is very useful for the learners like us.It is very good.